The precision of a metal lathe lends itself perfectly to do shapes in all kinds of media, and wood is no exception. Many metal machinists have an aversion to using it for this task in particular since it is a freehand method of shaping and thus is unfamiliar territory, but by making simple fixtures to adapt the machine for this use, its really quite easy to do and woodturning can be a fun skill to learn as well as serving the creative outlet. For example: a thrift store purchase of a well worn ships wheel was just the character item needed to be the centerpiece of some wall art. One of the spokes had the pommel broken off and was in need of replacement. A squaring cut on the shoulder at the transitional beading was made to begin this restoration
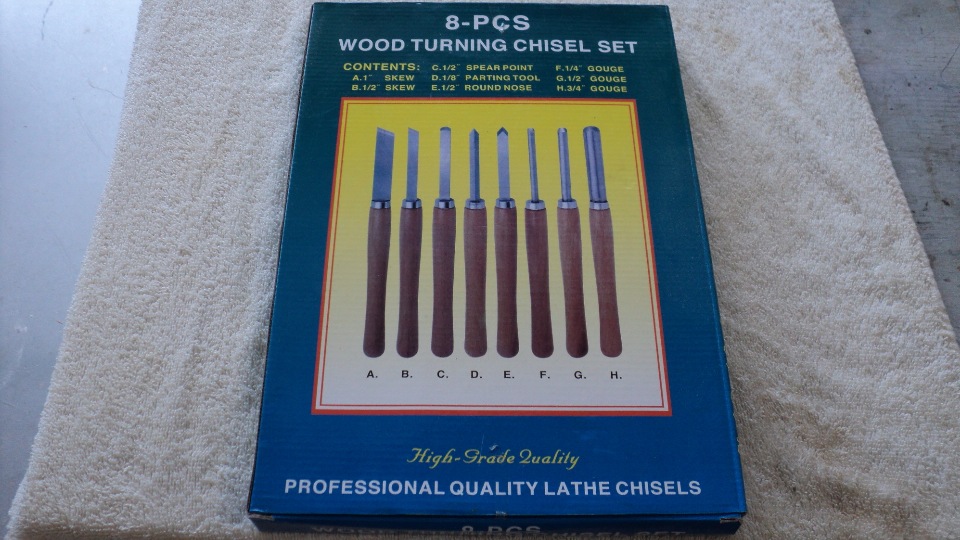
These tools are not the most expensive, but for the beginning turner they are a serviceable item, are a good length for safe turning, and were only $15 on Amazon.

A few pieces of scrap wood can easily and rapidly be assembled into the special toolrest needed to turn wood. At the image top is a simple T- nut that slides under the bed ways to lock down the slotted toolrest base. Next down is a riser plate to elevate the base above the lathe bed prism. And finally the toolrest itself, a length of scrap angle through bolted to the base and elevated so as to be about 1/8 below the lathe spindle centerline. This common setting will accommodate most general purpose lathe tools for the beginner. Use of threaded inserts allows the employment of machine- threaded fasteners, ¼- 20 being sufficient for this device.
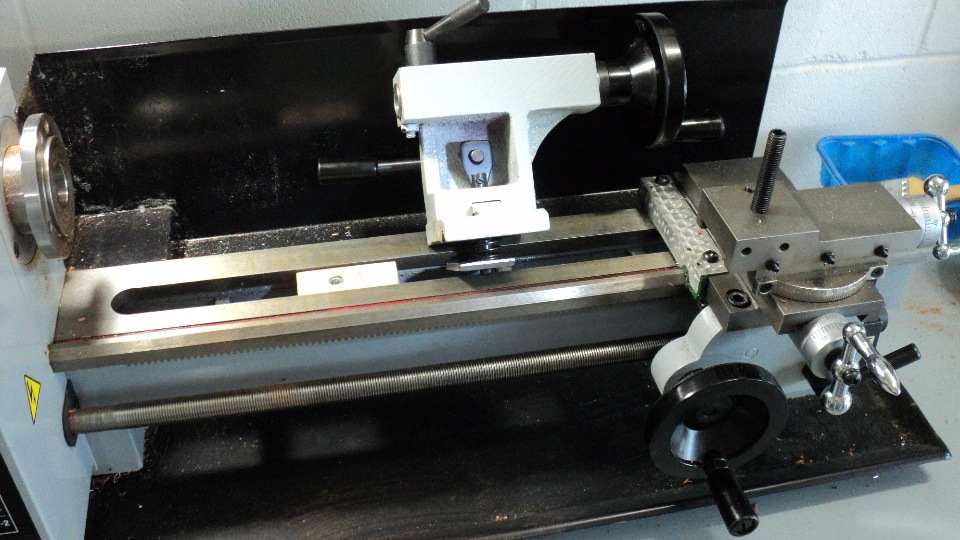
The saddle is unused for wood turning and can be parked to the right, out of the way and draped. In this case, the tailstock base T- nut plate is modified by filing relief chamfers so as to allow it to be moved and reinstalled to the spindle side without the need for saddle removal. Careful filing and checking as the modification progressed now allows this device to slip fit easily under the bed, yet retain rigid locking when needed. Reversing the insertion process restores it to the normal position after the saddle. Note the T- nut already in place to receive the chisels toolrest base, it is simply inserted from the right side and slid along underneath the bed to the desired point of assembly.
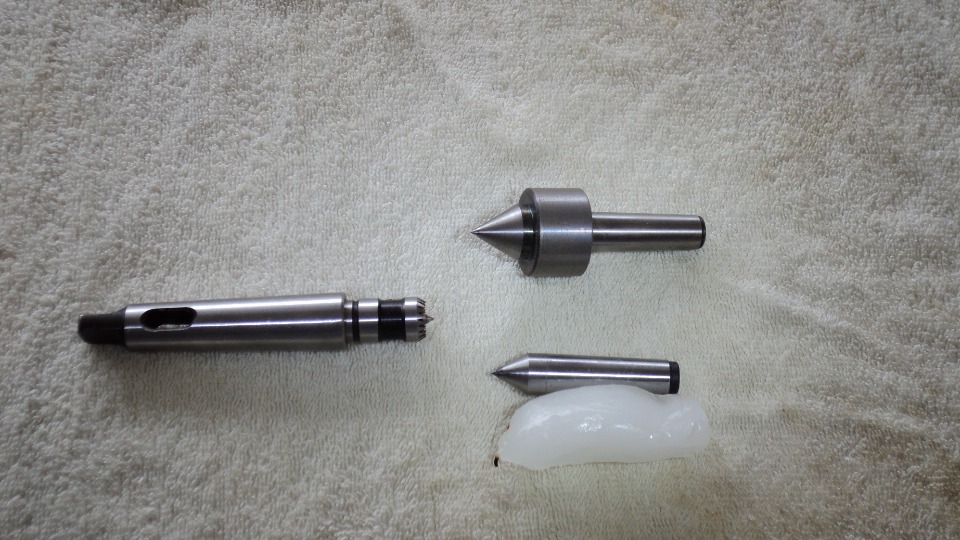
Youll need a drive spur, usually available with a Morse 2 taper. In this case an adapter sleeve was also needed (MT2 female to a MT3 male) to mount it in the mini- lathe headstock. A machinists live center is preferred but a dead center will suffice if lubricated with a candle stub to begin with. Find the rough center of the work by use of X, corner to corner and center punch to accommodate the points.
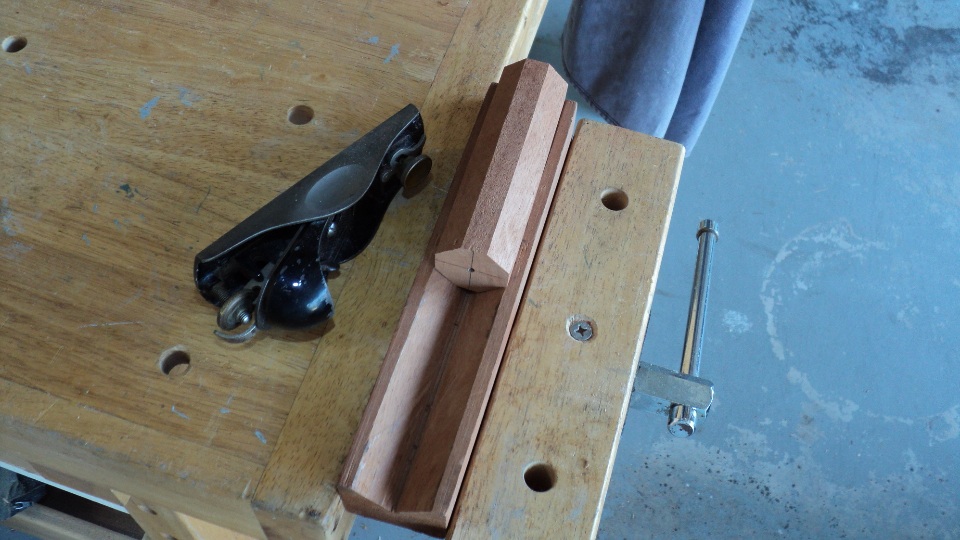
It helps to knock off the corners of a square as some machines dont like an interrupted cut, use of a block plane or spokeshave is helpful to do this task. A simple V block of wood cradles a short length of Mahogany being used for the wheel pommel, simply count the number of strokes and youll have a fairly consistent hexagon shape to begin with.
 (right click image and open in a
new
tab)
(right click image and open in a
new
tab)
In the video , a gouge was used to bring the hex shape to a beginning round.
There are many fine video tutorials on the art of woodturning, so search them out and remember, practice on scrap first before you commit to the real thing since any worthwhile skill needs to be learned by trial and error.
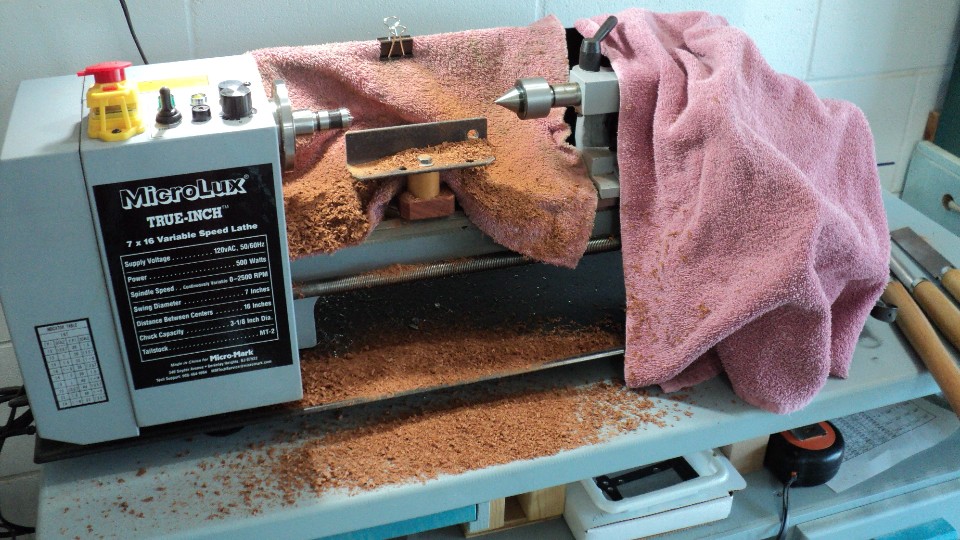
Draping the work area simplifies cleanup and minimizes wood to metal contact with the lathes operating surfaces. It can even be done better, next time the leadscrew will be draped too!
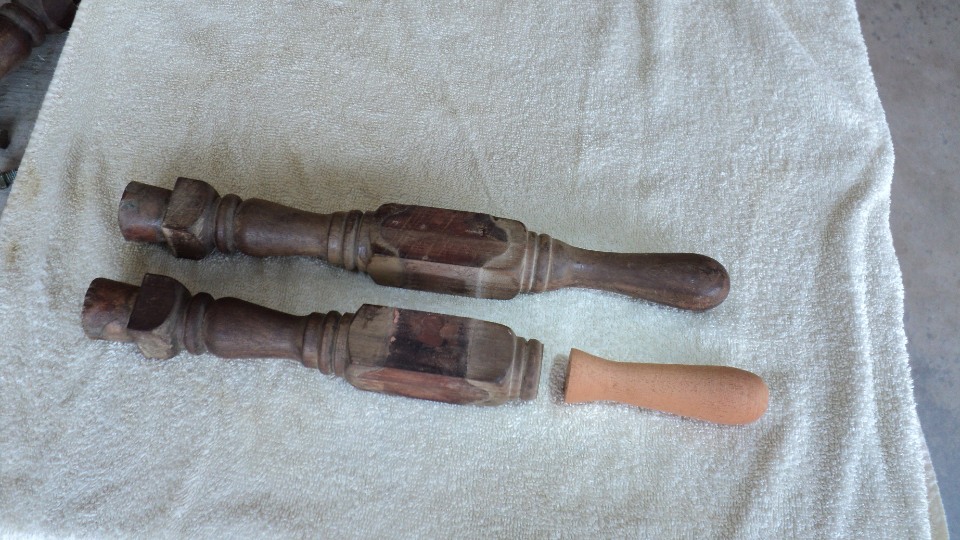
Using a dowel screw and glue, this spoke will soon join its mates on the wheel hub, making for a nice nautical display.
A few adapters and some simple fixturing has increased my mini- lathes usefulness to me. With very little cash outlay and some shop time devising the fixtures, Im ready for more of the same challenges.
This Web Page Created with PageBreeze
Free HTML Editor