This page will describe the reconstruction of the MBF saw motor blade guard's caution/ rotation decal, in a more permanent metal form.
![]()
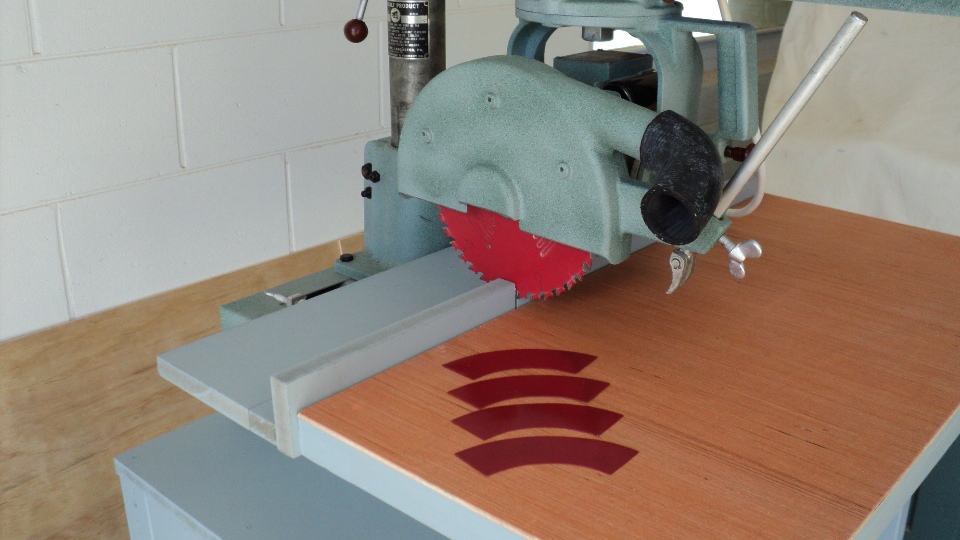
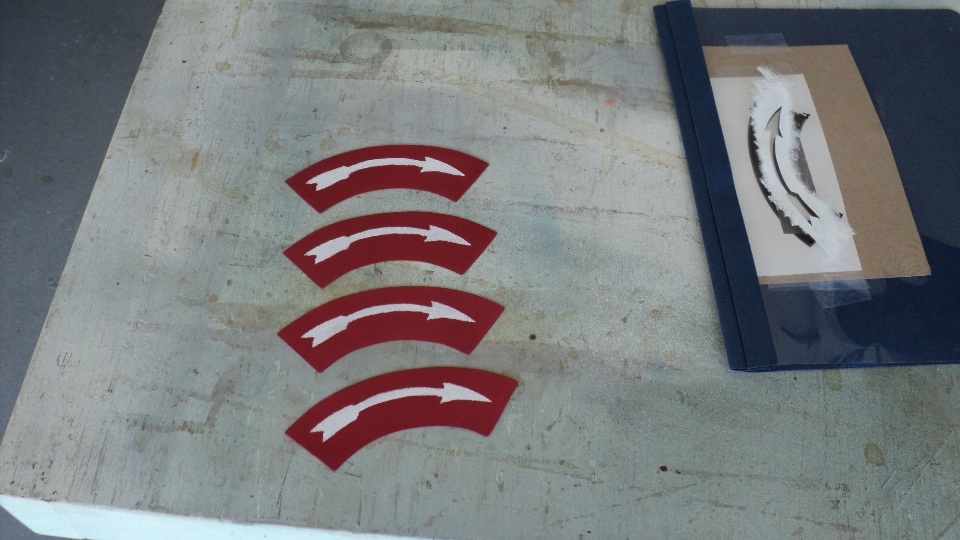
Above, artwork for the original decal, it's overall dimensions are 2" high x 5" wide.
Material for the project can be had at a thrift store, aluminum or uncoated steel will do just fine.
I used an old tray from a toaster oven as my source so I got 4 blanks from it. Printing out the artwork, I pasted it onto a cereal box side for stiffness, traced and cut out the shape of the badge to exact size and used it as my boilerplate. I finished by spray painting them "Wagon Red", it looked right.
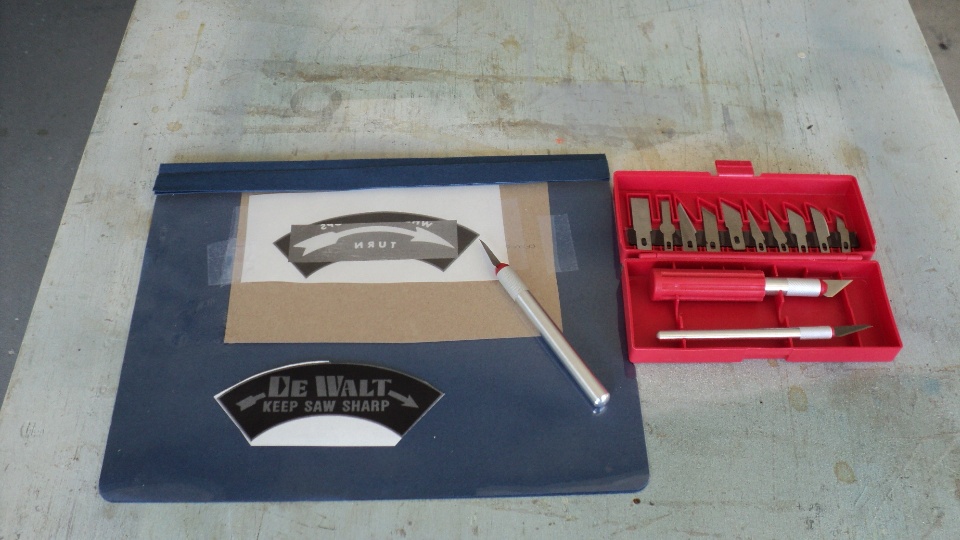
I didn't feel the need to replicate the DeWalt name as it was already prominent on the arm badge, but I did want an arrow to show rotation direction which I think is important for safety reasons. A little searching on the Internet and I found one that was exactly what I was looking for in both radius and design. Taping then all together gave me the total look, and so after making corner registration marks, I cut out the shape with an Xacto knife as cleanly as possible and in one stroke per detail area. The stencil material itself is just a thin plastic- acetate binder cover, the kind given away with sales literature and is stiff.
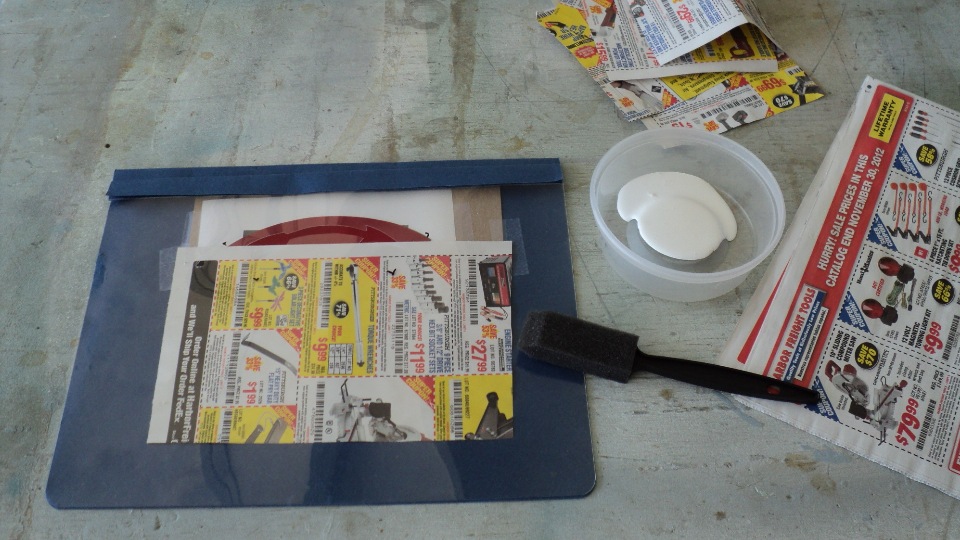
There's no great secret to stenciling and the tools are as simple and as cheap as you can get. A 1" wide foam brush, a very small amount of paint- even house paint will work, and newspaper pages. The technique is to load the very tip of the brush and remove almost all of the paint by daubing it on newsprint. Run a piece of newsprint first to get the feel, remove and examine it, if it looks clean then go ahead and do the work piece using up and down piston- like brush motions, not wiping, to fill the voids.
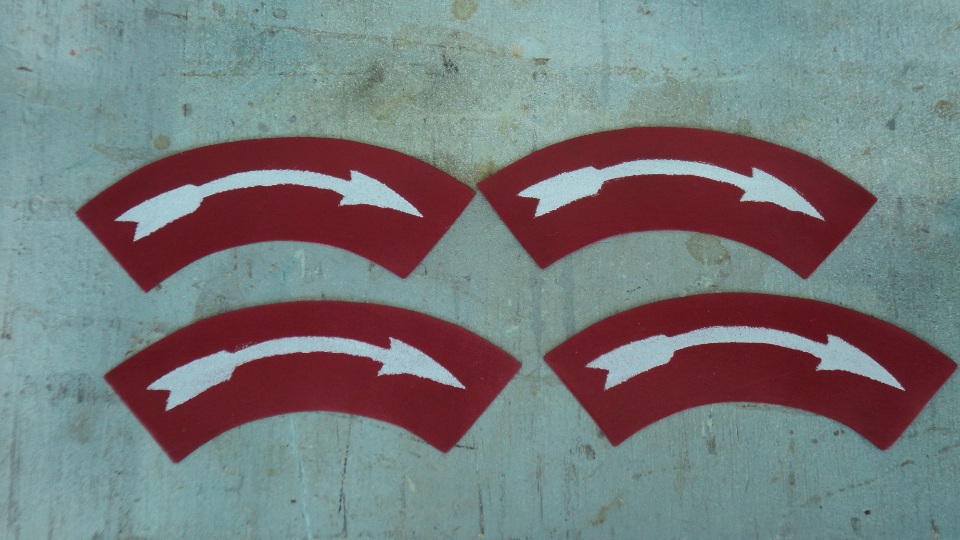
Viewing the first effort top to bottom, you can see that as the brush becomes drier, the results are better.
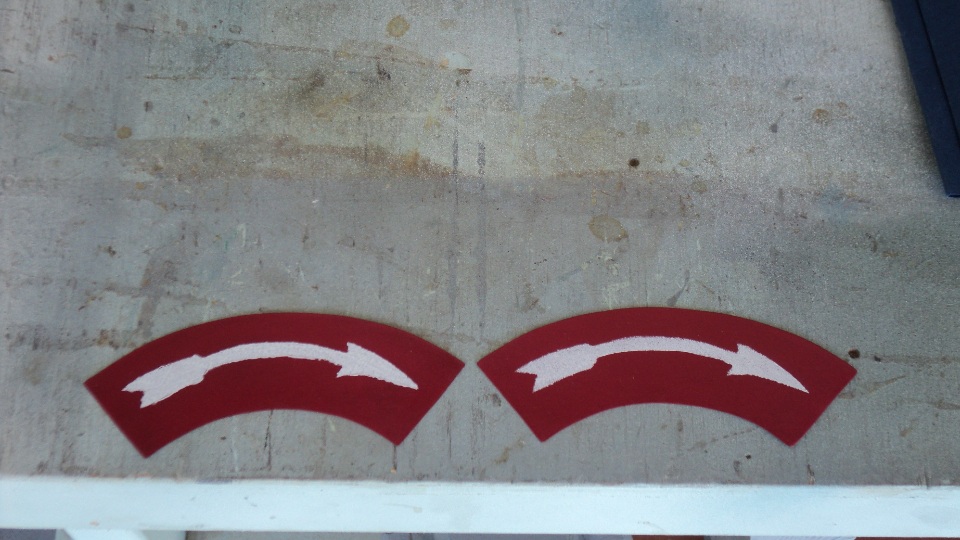
The closeup shows the first one, left, is very muddy while the one on the right, last, is much better. If it isn't to your satisfaction then simply wash it right off, dry, and hit it again. There is no wasted material and all will eventually come out as acceptable.
The final step is to sharpen the image with the tip of the Xacto, scraping lightly to remove and smooth bleed areas. You don't have to worry about ultra- sharp images as typical human eye resolution will tend to blend it overall into a good looking result. Final step is to overspray with a clear protective coat.
![]()
I mounted it with foam- backed tape, centering it in between the raised screw bosses. If I had it to do over and if I had more time I'd probably add a second step after drying and do a border just to set it off a bit more, but as it stands right now, it serves the purpose and gives that little extra custom look to the project.
Reaching out to learn a little extra is always worth the effort. Now I've got another capability in my bag of tricks that will help me take my projects to the next level up.
This Web Page Created with PageBreeze Free HTML Editor