Firstly start with wheels stripped of tyres and liner. Keep liner to use in process so take care with its removal. This process was completed by me and a friend who already has done his sealing successfully. To begin with, my wheel was put in a homemade stand that allowed for the wheel to spin on an axle and secured as if it was mounted on bike. This allowed easy access and movement. The stand was put in a bench vice to facilitate work. My friend hand torqued all the spokes and used a dial that works on pressure and clamped to stand to true wheel up to better than OEM tolerances. It was damn near perfect when he finished with it. Next I took to the inner well of the rim where spokes are with a wire brush, both hand and drill mounted to clean out the 'valley' where the liner goes over spokes. Labour intense but required. It needed to be clean and free of any contaminates like rust or any foreign substances. You need to be able to eat your dinner off the inside of that rim he said to me. After that I scrubbed the area with thinners but alcohol would be ok too. Need it squeaky clean and back to bare metal. The wire brush takes some of the glaze and dulls surface slightly. The cleaner it is the better end result will be so don't rush it. The liner you removed needs to be cleaned with thinners or alcohol as well to remove and foreign matter. The product used was 2 tubes of Sikaflex 255Extra. It is an adhesive not a silicone. It is used to bond windscreens into motor vehicles. With the tube of sikaflex loaded into gun and a very fine squirt (Just cut tip off plastic nozzle so it comes out fine not thick). What you aim to do it fill small hole where end of spoke is and then circle around nipple to form a cap that fills nipple well. Complete all of the nipples on the inside of the valley. When you are done you will have black caps and what you do is keep dipping your finger in mineral turps and flatten out the caps somewhat in a circular motion to form 'flat' black caps. Repeat this process for both wheels of course. The process takes a couple of hours for each wheel. Allow the flat black caps to cure for a few days. Next after curing is the first layer of the process. Remove the nozzle for this and apply an even coat over the black caps. I forgot, add your tubeless valves first. I used a right angle valve for rear but a straight valve for front wheels to assist in front wheel balance. I bought chrome valves not brass. So apply an even coat over black caps, not too thick but even as possible. You need to use a piece of plastic or light metal like a putty knife to assist in an even layer. Include putting product on base of the tubeless valve. Keep layer and product off the part of the rim that has the tyre mounting on it. Keep product in that 'valley'. Allow the two wheels with their first layer to cure for a few days. Third and last layer. Apply a third and last even layer to cover the second layer of product. Again as even as possible and in 'valley' and off the inside of rim that tyre mounts to. Whilst this layer is still fresh apply a layer of product to inside of the wheel rubber liner you removed and cleaned. Fill the indentations from spoke nipples of liner as well with product. Once liner coated, apply liner to the 'wet' layer on wheel already starting at the tubeless valve being located as per hole in liner of course. Once liner is over the 3rd layer both being 'wet' go round the liner and push out any air trapped under liner gently. Use extra product on finger to smooth out the sides of liner and cover the ridge of liner edge with product and a thin layer of product over the liner to incase it as well. Keep product to valley and off the rest of the inside of rim where tyre mounts. Use thinners on rag to keep all bar the 'valley' clear of product and clean. You should end up with a clean wheel with a black valley of product on it that 'smoothes' itself out as it cures to a shinny black surface. Clean product with thinners or alcohol from any other part of the wheel that it may have come into contact with. Allow product a week to cure before remounting tyre. Remount tyre with extreme care as not to tear into the new layer of Sikaflex. Have tyres rebalanced after this process. Check that your wheel bearings appear to be free and not binding and functioning. This would be a good time to replace a bad bearing. So remount tyre and inflate to desired pressure. That for me is 38 F and 40 R for my ME 880 Metzelers. That is how I have done it after being instructed by my friend who had already done his wheels and had been riding around for months without any issues. Hope you find what I have written clear and if not ask me questions and I will hopefully be able to answer same. My friend looked at many other products before deciding the safest and best was the adhesive Sikaflex 255 extra. He was not happy with silicons he tried and tested. You only get one shot at this he said, so take your time and do it right in the first place. Your life may depend on the preparation and care taken. Cheers! Goody
A pic of the finished job. Last layer over liner before new tyres mounted. 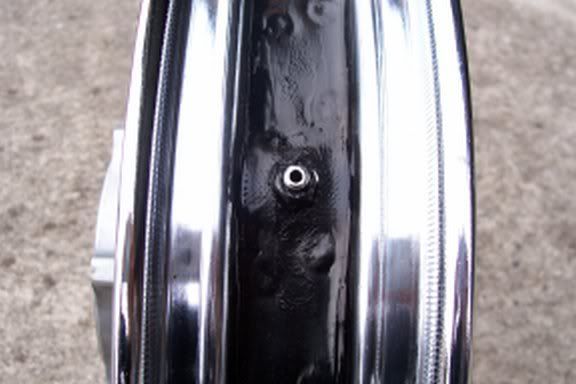
|