Trimming Your Road Star Windshield
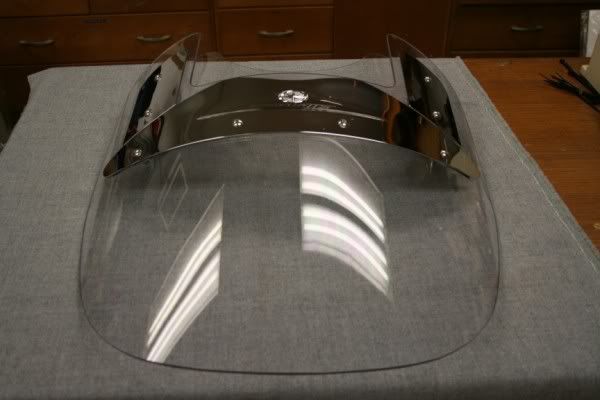
If your windshield is a bit tall for you, as mine was, and you are tired of the top edge of the shield interfering with your vision, it is a simple task to trim it down for an unobstructed view.
Lets assemble the items we will need to trim the shield:
A Large, soft cloth to lay the shield on while we work on it. (I like to use a large bath towel)
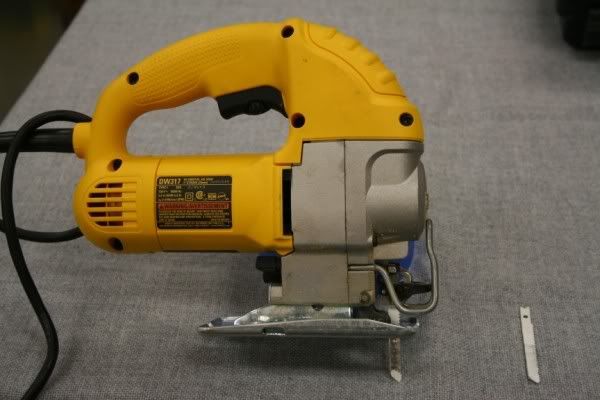
Sabre (Jig) Saw with fine tooth metal cutting blade.
3M painters masking tape, 1 ½ wide. (I like this tape because it removes easily without any adhesive residue to clean off of the shield. Lesser tapes will give you headaches, use the good stuff!
Black felt tip marker.
Random Orbital Sander. (Or a sanding block)
Sandpaper. (100, 150, 180 and 220 grit.)
MEK solvent.
Scissors.
Soft cotton cloth.
Poster board for template.
Lets get started!
With your shield removed from your bike, lay it face side out on the soft bath towel.
Lay the poster board onto your shield, and tape it down in a few places so it doesnt move.
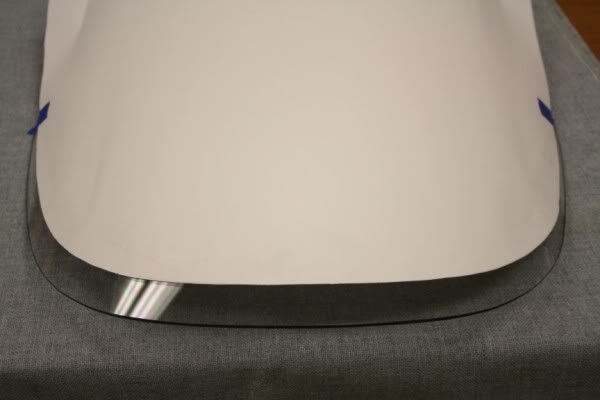
With the felt tip marker, trace the outline of your shield onto the poster board. (If you use a large piece of poster board, you can trace almost the entire shield, which will help you position the template for a consistent profile when you trim your shield.)
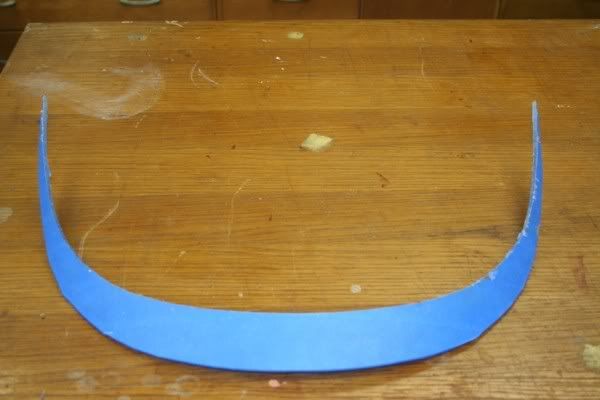
With the scissors, cut out your poster board template on the line you traced. Then position your template on the shield and get it even. Measure from the top of the shield down to mark the amount of shield you want to remove.
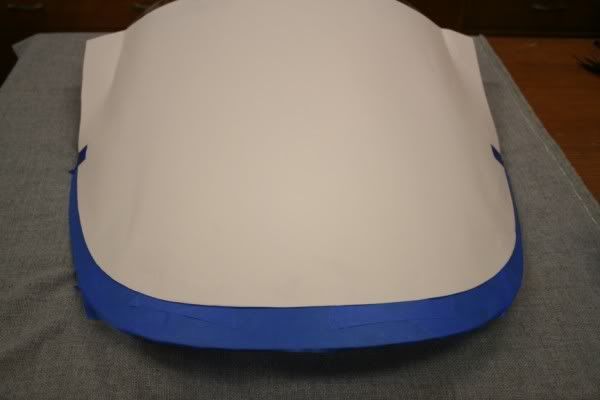
Once you have the template positioned where you want it, secure it with some tape and trace the outline with the marker to establish your cut line. (You can trim the shield with the template in place, or remove it. I removed it once the line was traced, so I could see exactly where I was cutting.)
Using a Jig Saw with a fine tooth blade, begin your cut on the line. Take your time here, and make a very smooth cut. The smoother the cut, the less sanding you will have to do later. If you have access to a variable speed Jig saw, that would be even better. A variable speed saw will allow you to run the blade slower, so there is less heat buildup, which can melt the plastic as you cut. With this step, SLOW is GOOD!

(A tip to remember: When you reach the top center of the shield with your cut, use some masking tape and tape the portion you already cut to the shield. This will prevent the cut off portion from snapping off near the end of the cut and potentially causing a chipped shield.)
Once you have finished the cut, use compressed air to blow off any chips or plastic residue from the shield. Do this BEFORE you remove the masking tape from the face of your shield. (Plastic is abrasive, and wiping it off can cause scratches. Be safe, use air.
Once the shield is clean, remove the masking tape.
Now, starting with 100 grit sand paper, and begin to sand the edge smooth. (You can start with a finer grit, it just takes longer to remove the saw blade marks.)
You can sand with the shield laying flat, or standing. Just make sure to blow it off often to remove the plastic dust. Pay careful attention when sanding, so you match the edge contour of the original shield. The goal here is to end up with a factory looking job!
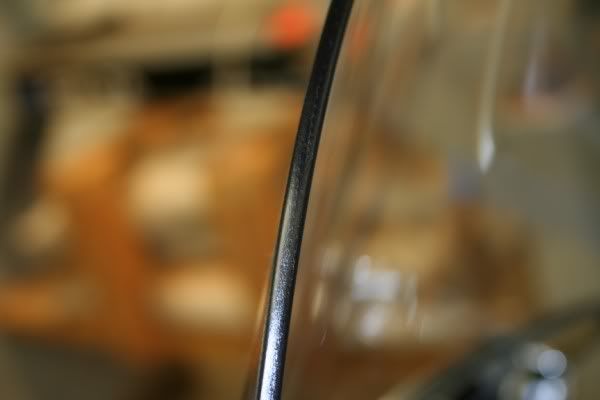
Once the saw blade marks are removed, you can sand up through the finer grits to remove any sanding scratches. I sanded to 220, and that produced a very nice edge.
Finished sanding? Again, using air, blow the shield to remove any sanding residue.
This next step is the most important step in obtaining a great looking job. With a COTTON cloth (A cotton shop towel, or a scrap of old T Shirt will work great) you want to wrap the cloth tightly around your finger, only one layer of cloth thick. It is IMPORTANT to use a COTTON CLOTH, as this solvent will melt most synthetic fabrics.
Wet the cloth using the MEK solvent. You want the cloth wet, but NOT dripping. The MEK will slightly melt the plastic edge of your shield, and smooth out any remaining sanding scratches, and leave the edge looking factory fresh. Make sure to wipe in one smooth, continuous stroke and avoid any contact with ANYTHING but the EDGE of your shield.
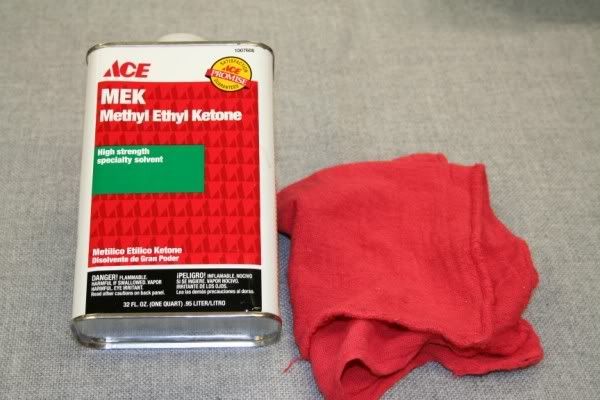
(If you have Acetone, this will work too, it just evaporates faster than MEK, but offers the same results.)
Just a smooth, continuous wipe or two over the edge, and your are DONE! Install your shield, and clean it with your cleaner of choice, and enjoy your new view!
If anyone has any questions, or needs help with this project, you can contact me through the Road Star Project Forum. I will be more than happy to assist you in any way I can!
RidaV {Kevin}