'
Proper Installation of the Chariot Manifold
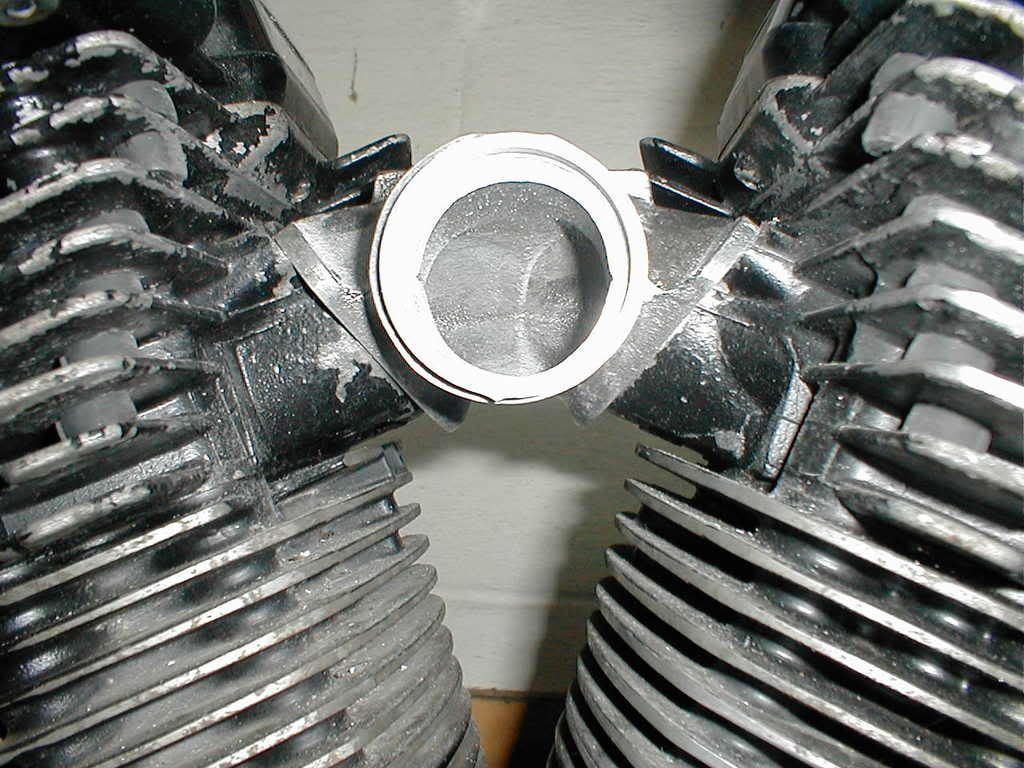
To ensure a proper fit and excellent sealing, the first step is to verify that the manifold flanges align with the heads. To do this you will have to remove the speedo, fuel tank, air cleaner and carburetor and finally the manifold. Once everything is removed take the Chariot manifold and slide it into place without the gaskets.
'
Look along the flange edges where they meet with the heads and see that the flanges mate. Some small variances are possible, but they should be very minimal.
'
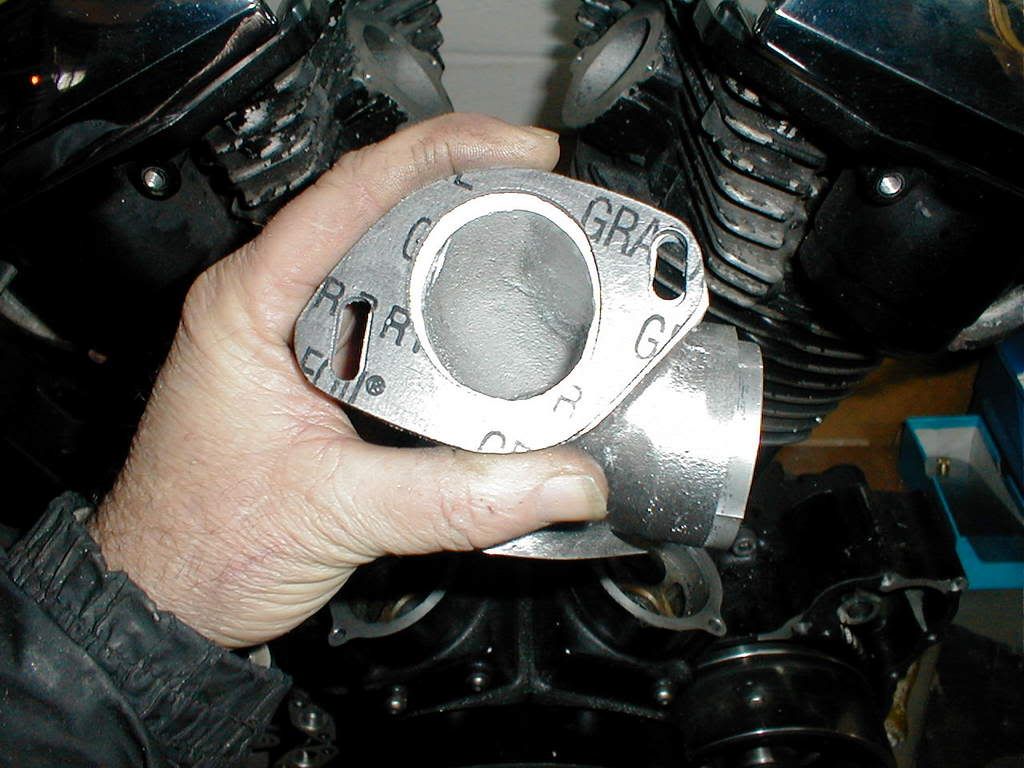
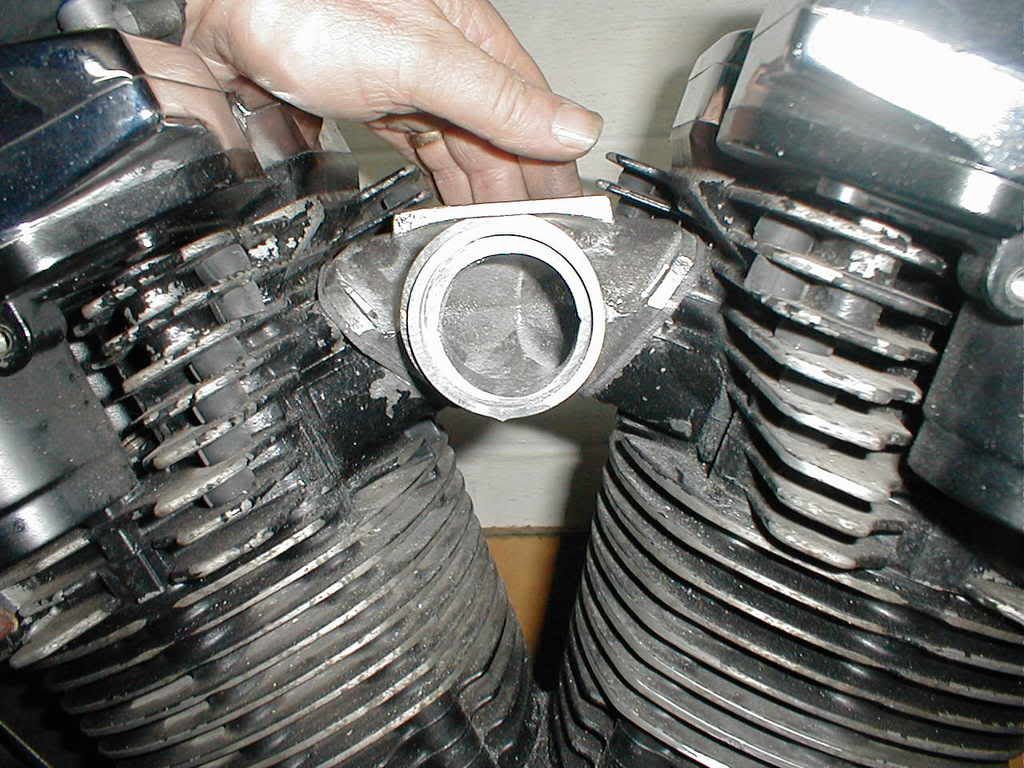
Step #2--- Now that you have verified the fit, the next step is to place the rear gasket on the rear flange. The Graf-Foil gaskets will align with the slotted holes as per the picture. It is important to note that the narrow portion of the gasket is placed on tthe top of the flange.
'
'
Step #3--- Now place the intake with the gasket in between the heads, keeping the intake as high as possible between the heads and taking extreme care not to scrape the gasket against the heads. Now slowly let the intake slide down and let the gasket come in contact with the heads and then align the gasket with the intake holes.
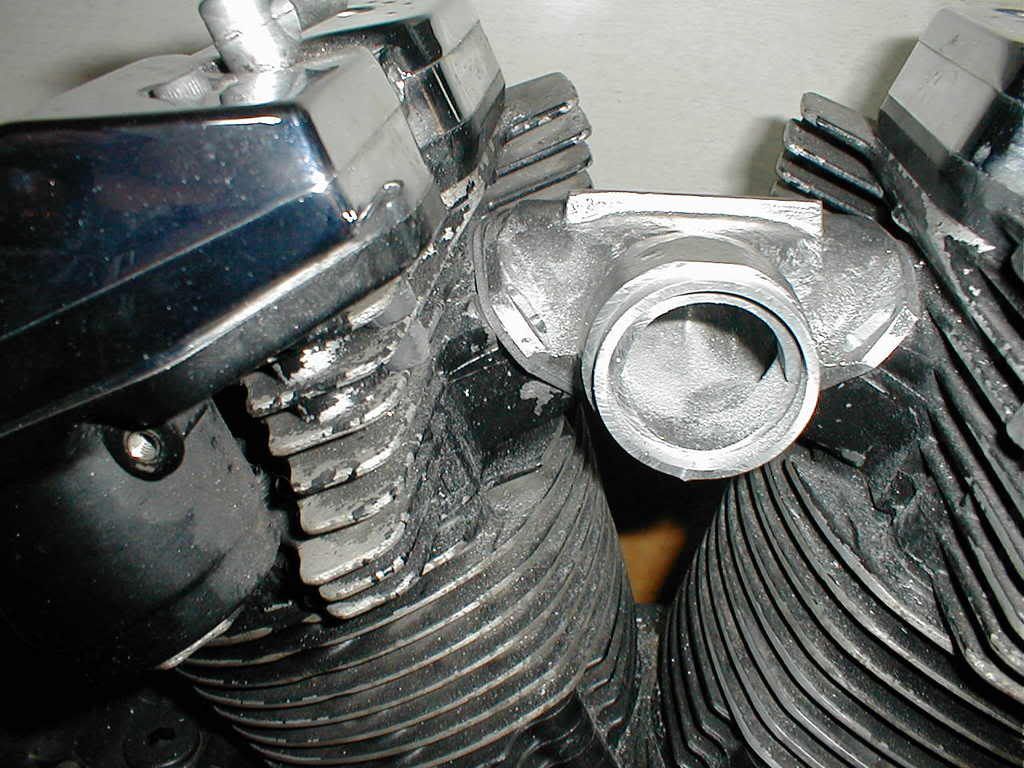
You will notice the gasket on the back flange.
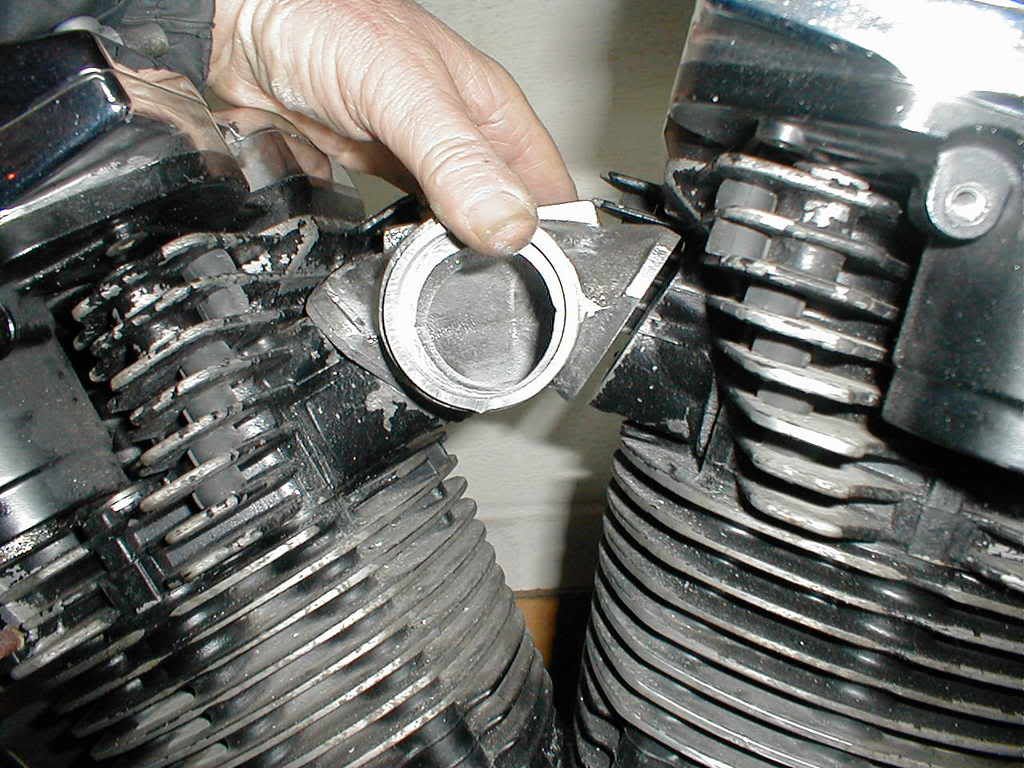
Step #4---Now slowly raise the intake, along with the gasket, so that the front flange is separated from the front head.
'
'
Notice the gap between the flange and the front head. Now carefully insert the front gasket by sliding it into place, being very careful not to scrape it, as they rear very easily.
'
'
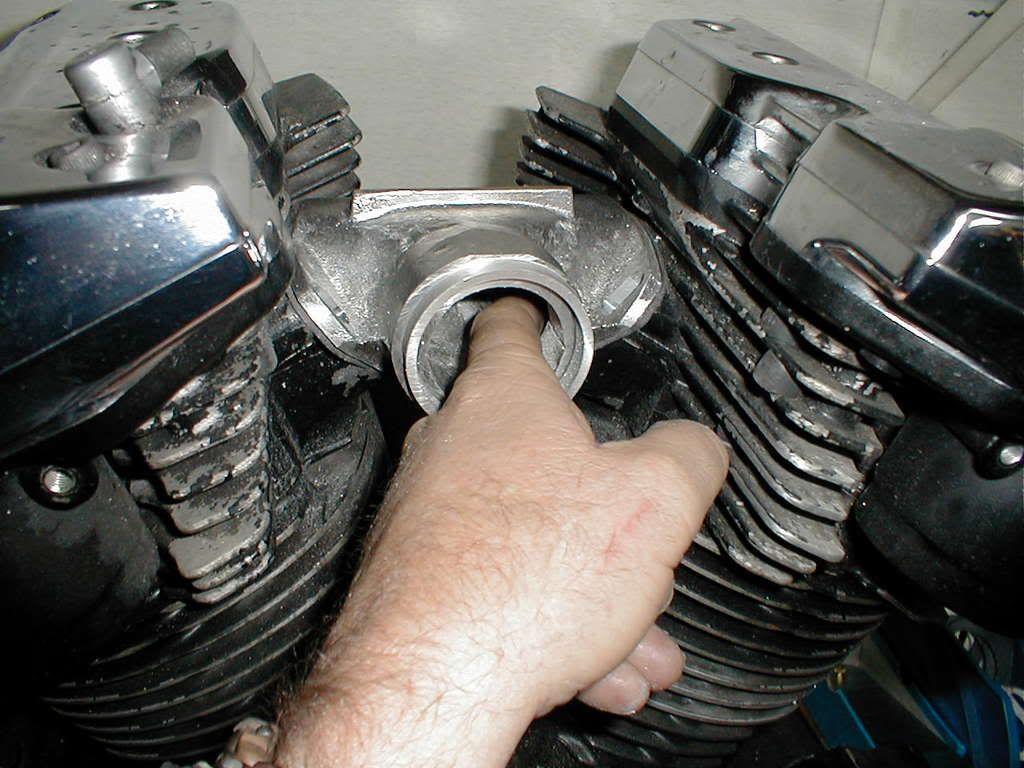
Step # 5--- Apply some light pressure on the top of the manifold to properly seat it and then take your finger and insert it into the throat of the intake and align the bottom of the intake hole with the bottom of the head hole. You can do this either on the front or back head. This aligns the gasket and the intake with the head.
'
'
'
'
Step #6--- Now place a small amount of locktite (Blue) and insert all four of the flange bolts, but do not tighten them down. Once you have all the bolts installed you can start tighten them in a cris-cross pattern until snug. Because you are working with aluminum you dont want to over tighten as this may crack the flanges. Yamaha specs call for 102 inch/lbs, which is too high. I prefer using my feel to snug them down and then give them a final twist. To verify a good fit and seal I use a high intensity light to shine around the intake on all sides, keeping an eye on the inside of the intake for any light. This is best done with little light in the area.
Step #7--- The rubber gasket which goes around the intake throat should already be installed on the intake, so all you have to do is insert the carburetor. You can place a light coating of oil or grease on the inside of the rubber gasket, which helps the carburetor slide into the gasket. Now install your air cleaner, fuel pump, cables, etc and your ready to fine tune.
Ben Herr (Chariot Manifolds)
'
'
'